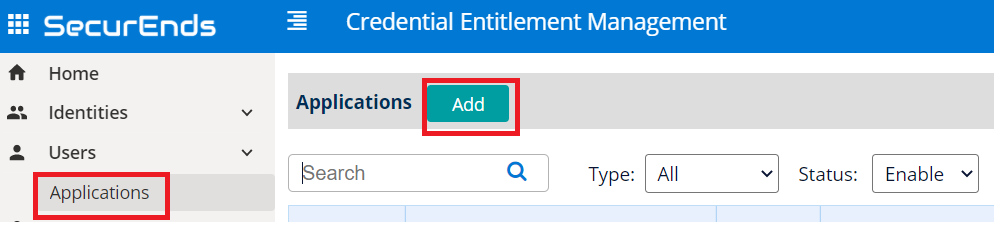
App Creation in SecurEnds Tool
- In the Admin Console, go to Applications.
- Click the Add button next to it to begin configuration.
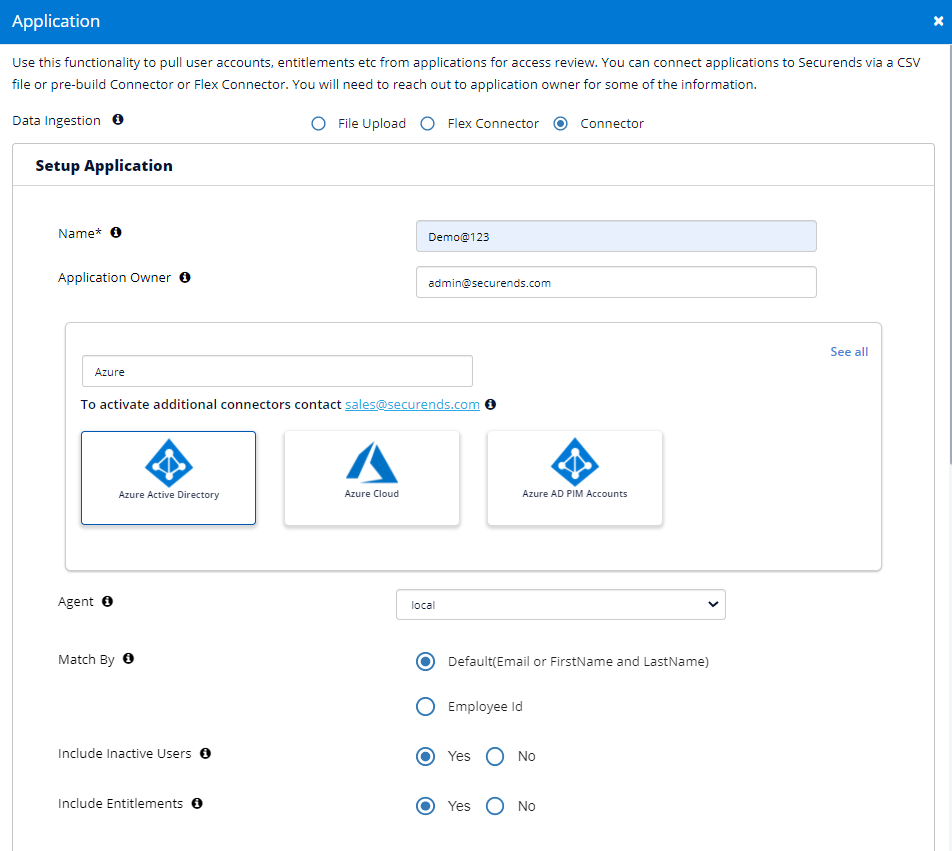
Setup Application
- Select Data Ingestion method as Connector.
- Enter application Name.
- Enter the Application Owner email information.
- Search Connector in Featured Integrations and select Azure Active Directory.
- Select Local for your Agent. Agent is software that is installed on your on premise environment to pull data from applications such as Active Directory, Database and Custom Applications that are not cloud based.
- Select Local if the application is cloud based. No agent install is required.
- You will need to whitelist the SecurEnds IP’s. Your Implementation Consultant can provide these.
- Select Remote if you installed Agent on-premise.
- The server where the agent is installed must have connectivity to the on-premises application or database.
- If a new agent is required, contact your implementation consultant or submit a ticket via the SecurEnds Help Desk using the Report Issue link in the upper right corner of the SecurEnds application. SecurEnds will need to provide files and instructions.
- Select Local if the application is cloud based. No agent install is required.
- Select Match By logic as Default(Email or FirstName and LastName) or Employee Id
- If we select Default(Email or FirstName and LastName) the system will match the user with Email OR First Name and Last Name while syncing
- If we select Employee Id the system will only match the Employee ID while syncing
- Select Include Inactive Users to fetch all users
- Selecting Yes will include all the Active and Disabled status users to be added in the Matched users for Azure Active Directory.
- Selecting No will only pull Active users to be added to the Matched users for Azure Active Directory.
- Include Entitlements: Enabled as Yes to load the entitlements on application while syncing.
- Filter Entitlements (Optional): This will help with refine the data and accounts pulled from pulled in by including or excluding defined groups or users, or both.
- Group Filter: Filter in or out groups through include, exclude, or custom query methods
- For include and exclude filtering methods, the syntax follows the following format:
- GroupA|GroupB|GroupC (Ex. Admin|ReadOnly|IT)
- Note: Each group is separated by the bar symbol “|” with no spaces in between
- GroupA|GroupB|GroupC (Ex. Admin|ReadOnly|IT)
- For include and exclude filtering methods, the syntax follows the following format:
- User Filter: Filter in or out groups through custom query methods
- For guidelines on how to create custom query syntax, please reference the documentation links below:
- Use the $filter query parameter: https://docs.microsoft.com/en-us/graph/filter-query-parameter
- Advanced query capabilities on Azure AD directory objects: https://docs.microsoft.com/en-us/graph/aad-advanced-queries?tabs=http
- For guidelines on how to create custom query syntax, please reference the documentation links below:
- Group Filter: Filter in or out groups through include, exclude, or custom query methods
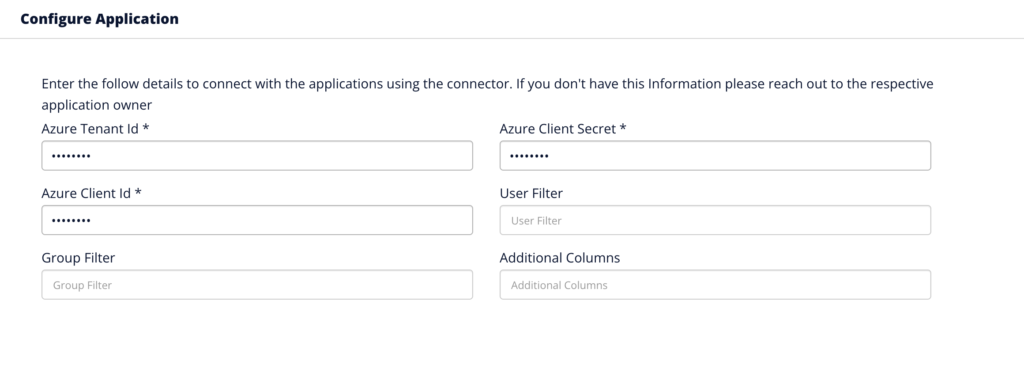
Configure Application
- Input the following Azure configuration details into SecurEnds:
- Azure Tenant ID (see chart below for details)
- Azure Client ID
- Azure Client Secret
- Optional: We can include or exclude users and groups in accordance to Microsoft Graph API #filter parameter
- https://docs.microsoft.com/en-us/graph/query-parameters#filter-parameter
- User Filter
- Ex. Say in user criteria we have endswith(userPrincipalName,’#EXT#@test.onmicrosoft.com’) then we will fetch users that have UPN that ends with #EXT#@test.onmicrosoft.com
- Group Filter
- We can do the same as with users, in accordance with Microsoft Graph API capabilities
- Additional Columns
- Here we can input additional information values from Azure that we want to bring in to be displayed for Review
- We can support additional columns as : “companyName”, “jobTitle”, “mobilePhone”, “city”, “createdDateTime”
- IF we input into User Filter box value, “UPN,SAMAccountName” then SecurEnds will bring in “companyName”, “jobTitle”, “mobilePhone”, “city”, “createdDateTime”,”UPN”,”SAMAccountName” as additional columns in the review screen only.
NOTE: See below for conversion of terminology; Azure native terms are in left column while SecurEnds native are on the right.
| Azure | Securends |
| Application (client) ID | Client ID |
| Directory (tenant) ID | Tenant ID |
| Secret Value | Client Secret |
| Secret ID | Not used |
Ticketing System Configuration
For more information on Ticketing System Configuration, Click here.
Click Save once finished to add the connector.