SOR Setup for a CSV File
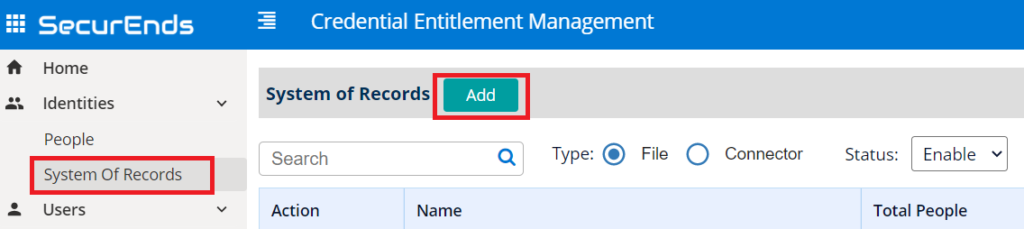
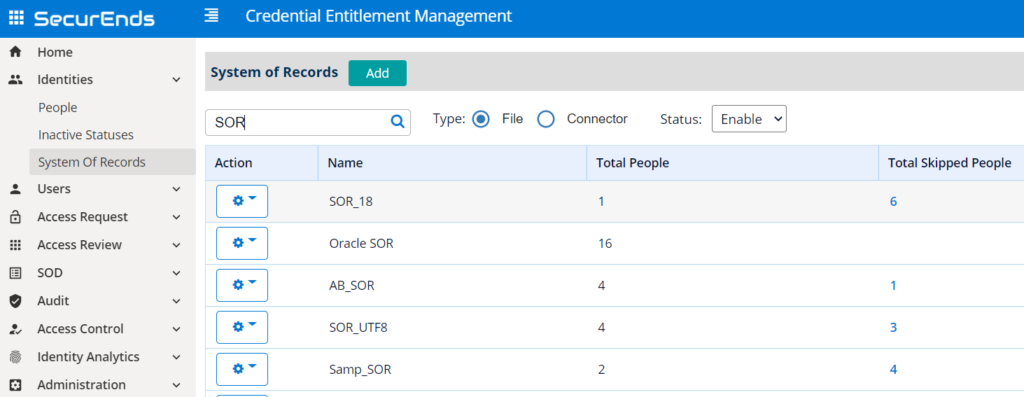
- Navigate to System of Record on the left navigation pane.
- Select Add.
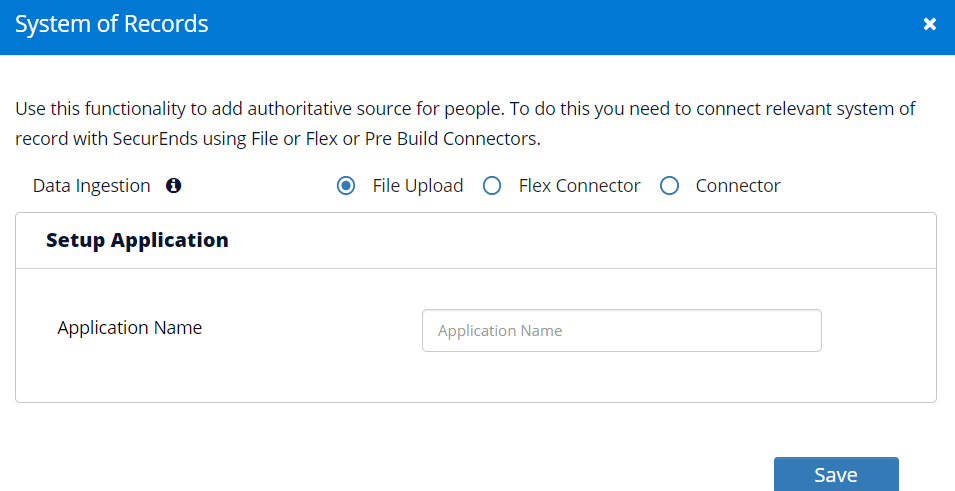
- Select the Data Ingestion as File Upload and provide an Application Name.
- Please note that once the application has been created, the name cannot be modified or duplicated within other applications.
- Select Save.
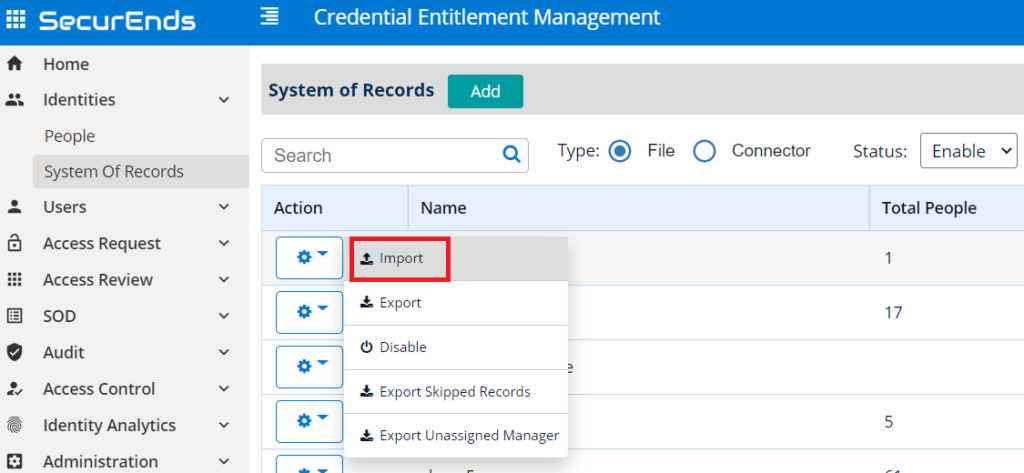
- Begin importing your file by selecting Import while hovering over the actions box next to the name of the application.
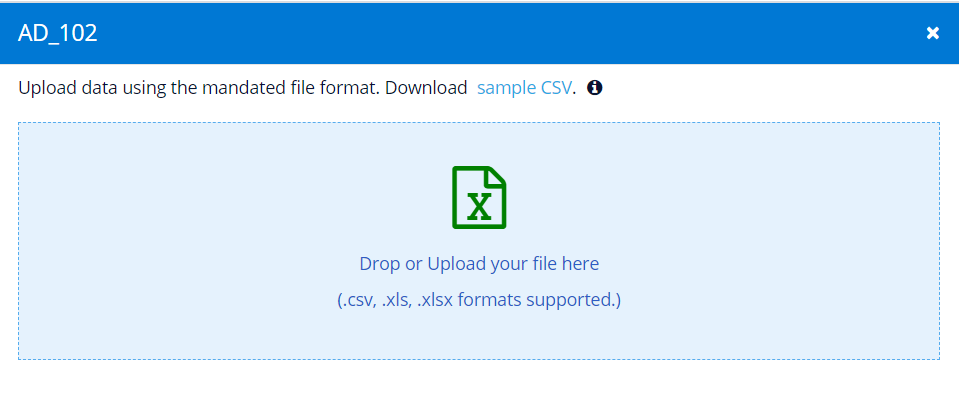
- Click on the sample .csv to download the file with appropriate column headers.
- Additional columns that can be added after the last column within the sample CSV:
- Employee Title
- Department
- Location
- Org Unit
- Employee_Type
- Employee_ID
- Count
- Terminated Date
- You can also add other custom columns after the last column within the sample CSV if there is a need to include additional data other than the above.
- Review the sample .csv file provided and once you have confirmed your file meets the sample standards (exact headers) either drop or upload your file in the designated area.
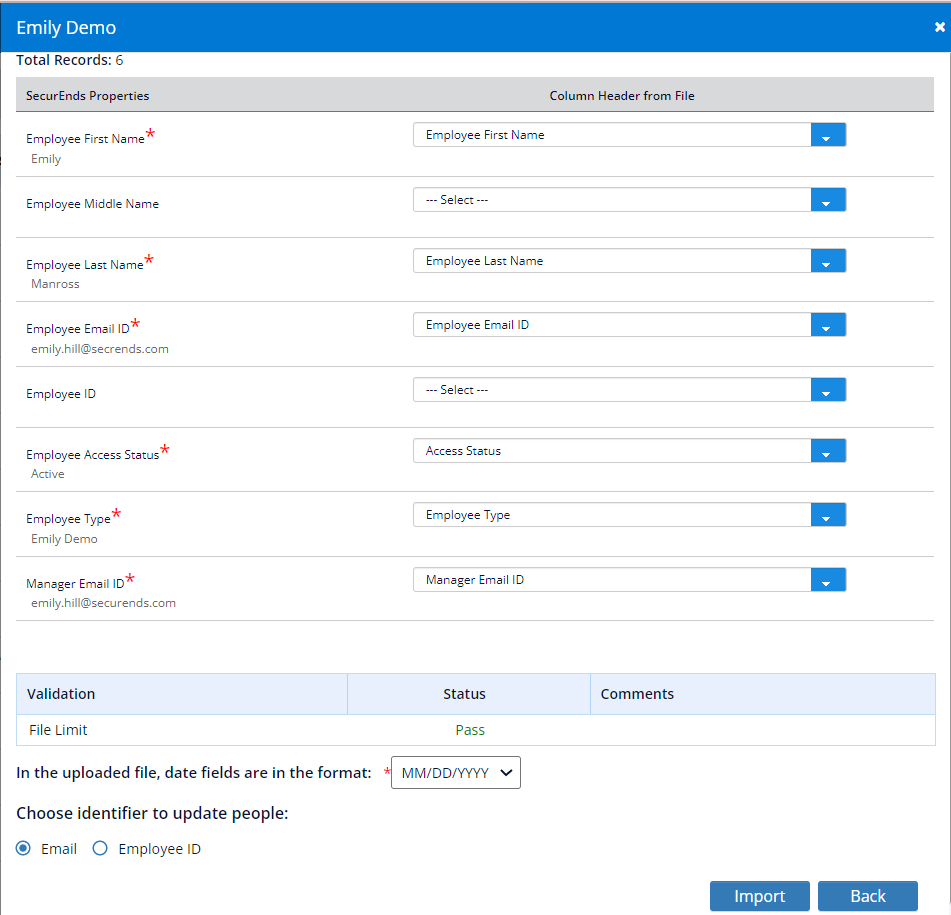
- Map the column headers from the CSV file to the SecurEnds properties.
- Review the validation criteria to confirm that the file passed all requirements.
- Total Records shows the total count of records in the uploaded file.
- File Validations can be seen with Status and Comments.
- For any Fails, please revisit your file to make corrections before uploading the file again.
- Select Import.
- Upon selecting Import you should receive a Success screen.
- Please review the record counts.
- If any records were skipped, then you can click the number shown, it will download a .csv file.
- The exportable .csv file will show which records were skipped and why.
- Fix any issues with skipped records, updated the records and re-upload the file in provided format.