The following steps walk through an example use case and the information that will need to be saved will be specific to your application.
Generate Access Token
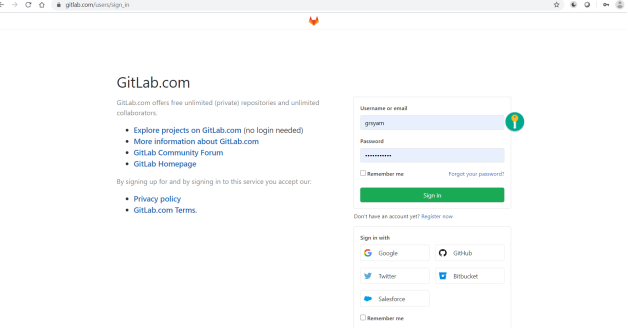
- Please sign in to GitLab using the below URL.
https://gitlab.com/users/sign_in - Enter the Username or email and Password and click on Sign in button.
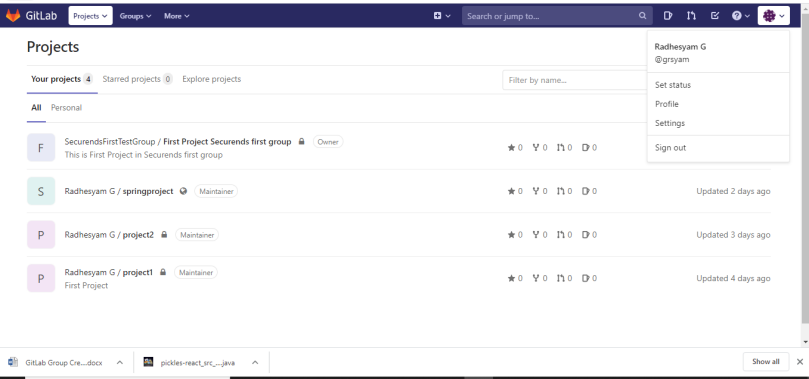
- Once you have logged in, Click on User Icon and select Settings.
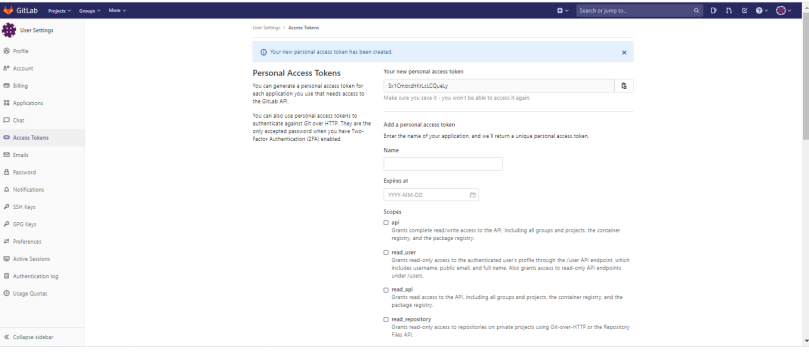
- Click on Access Token in the left pane.
- Enter the Token Name and select all the Scopes that are only read only.
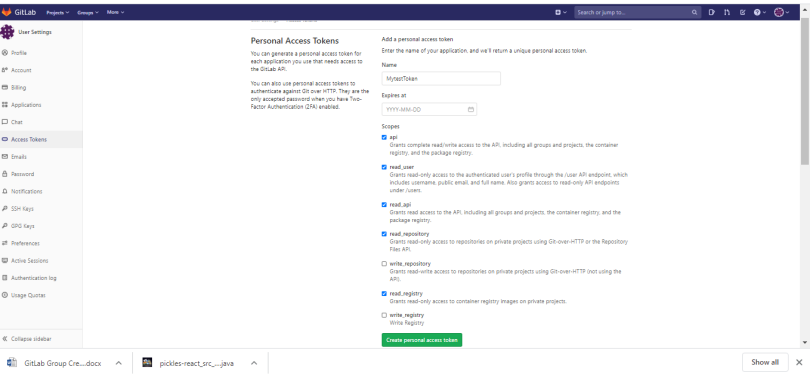
- You will receive a Personal Access Token, please copy and save the token.
Group Creation in GitLab
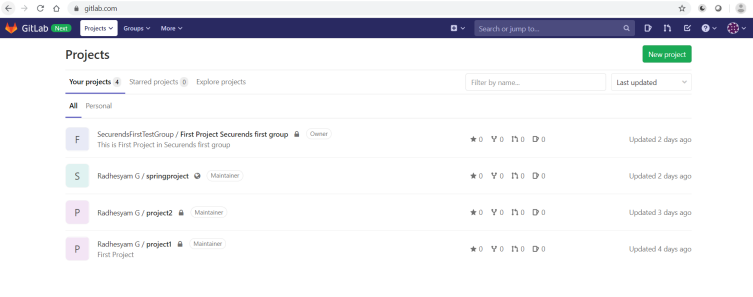
- Once you click on Projects on the top left, where you will be able to view the projects.
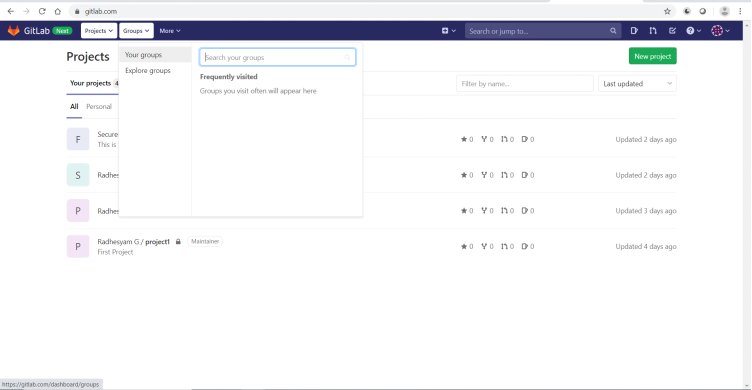
- Click on Groups beside the projects and select Explore groups.
- Click on New Group on the top right corner.
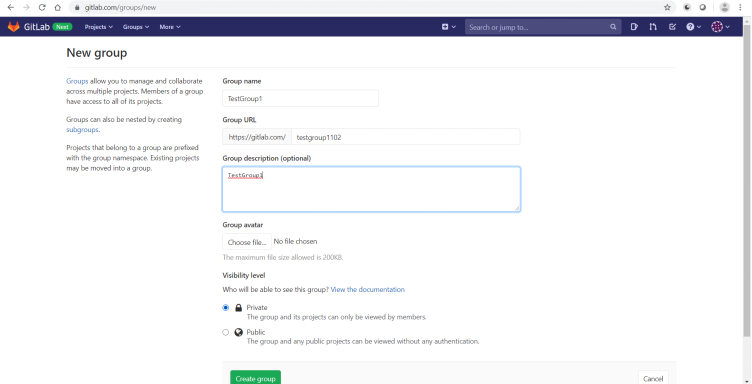
- Enter the Group name, Group URL and Group Description.
- Select the group Visibility level as Private or public and click on Create group button.
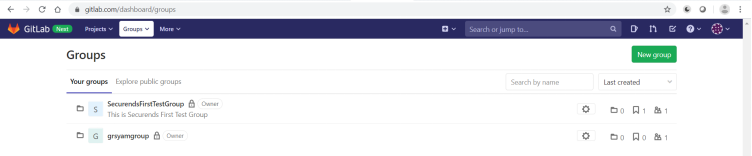
- You will receive a message Group was successfully created as below.