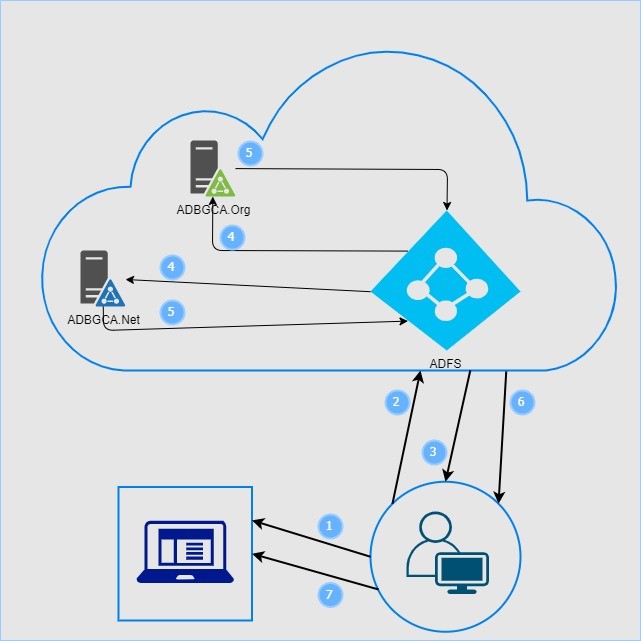
SecurEnds ADFS Architecture Diagram:
Points:
- User tries to access application
- User redirected to ADFS (Azure) for sign-in
- User enters Username & Password
- ADFS validates Username and Password against Active Directory (Both ADBGCA.net & ADBGCA.org)
- Active Directory returns result to ADFS
- ADFS (Azure) completes the sign-in process
- Successful user gets access to applications
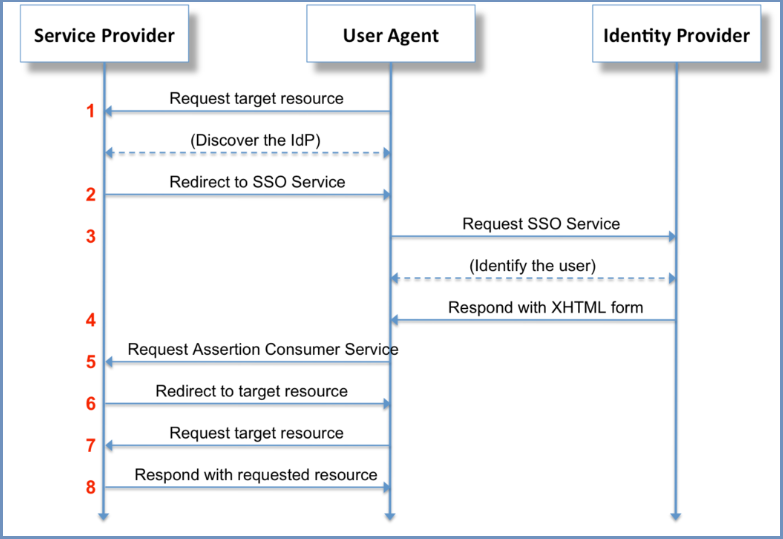
SAML Web SSO Authentication:
Points:
- User hits the Service Provider URL Service provider discovers the IDP to contact for authentication
- Service provider redirects to the corresponding IDP
- User hits the IDP and identifies the user
- IDP redirects to the Login form
- Redirect to Service provider Assertion consumer URL (the URL in Service provider that accepts SAML assertion)
- SP initiates redirect to target resource
- Browser requests for the target resource
- Service provider responds with the requested resource
- Metadata xml URL from ADFS
Ex: https://stage-login.bgca.net/FederationMetadata/2007-06/FederationMetadata.xml
- Create Relying Party Trust in ADFS
- Upload Service Provider Metadata XML in ADFS
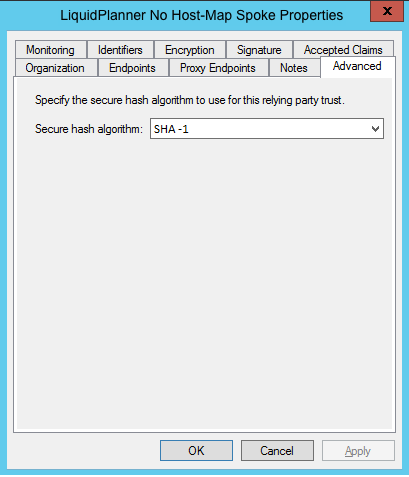
- Convert Security Algorithm to SHA1
- Configure claims
SecurEnds ADFS Configuration:
Step 1 – Adding a replying party trust
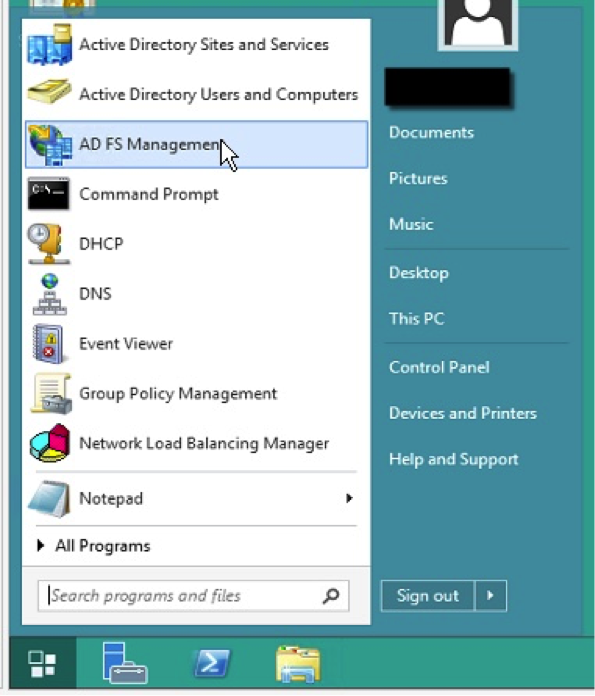
- Login to the ADFS Server.
- Launch the ADFS Management Console.
3. On the left hand tree view, select “Relying Party Trusts”.
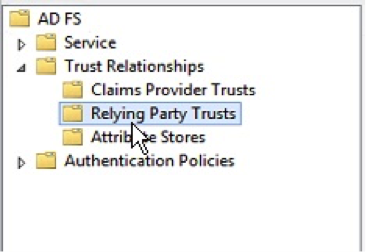
4. Right click and select “Add Relying Party Trust…”
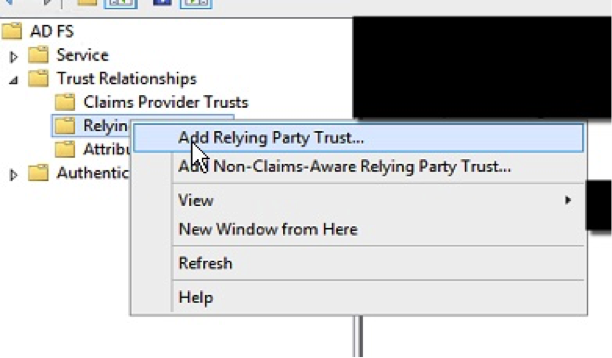
5. Select the Relying Party Trusts folder from AD FS Management, and add a new Add Relying Trust from the Actions sidebar on the right.
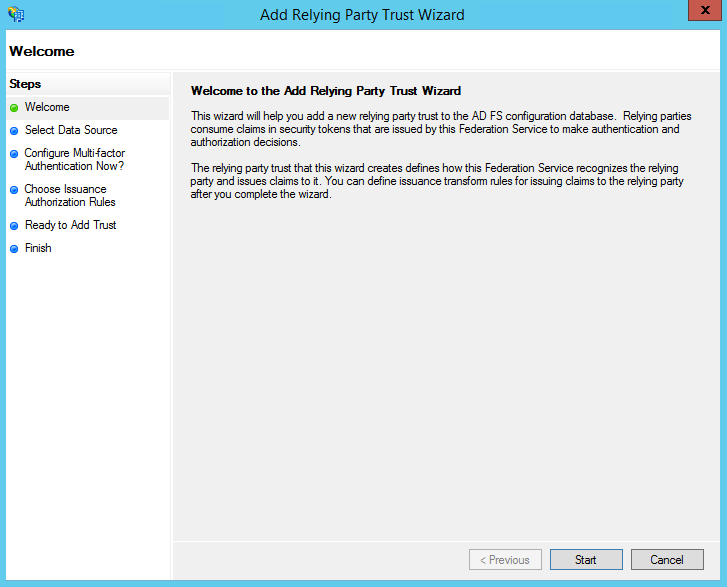
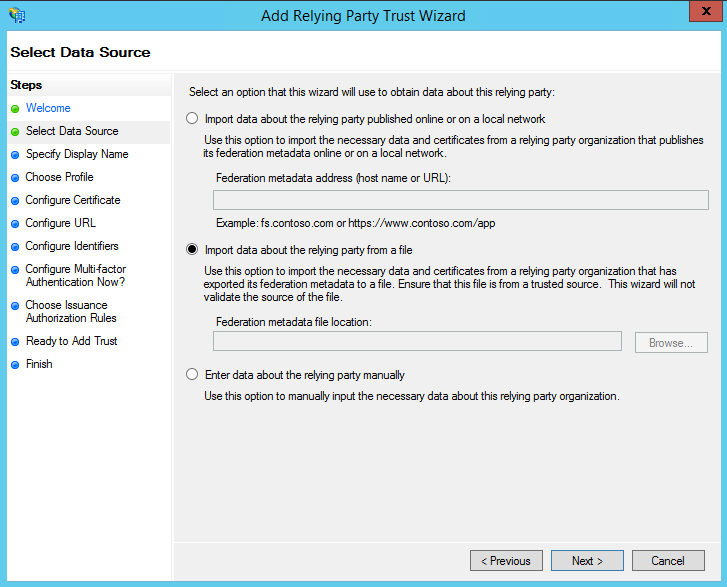
6. On the Select Data Source screen:
- If you downloaded the SecurEnds Application configuration metadata xml file, select the second option: Import data about the relying party from a file
- Click “Browse” and select the SecurEnds Application configuration metadata xml you saved
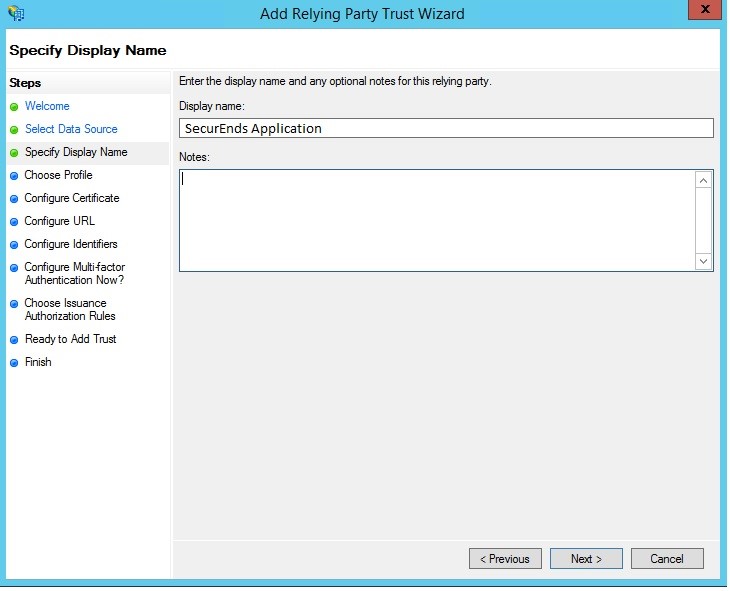
7. On the next screen, enter a Display name that you will recognize in the future.
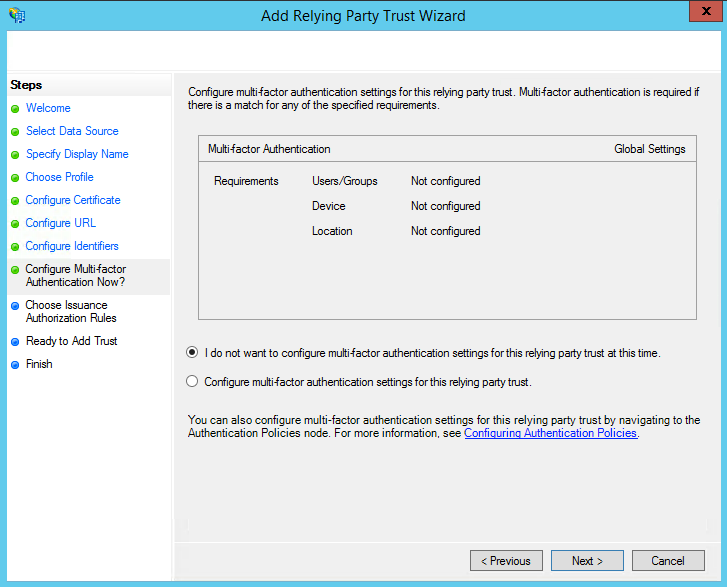
8. On the next screen, leave the defaults.
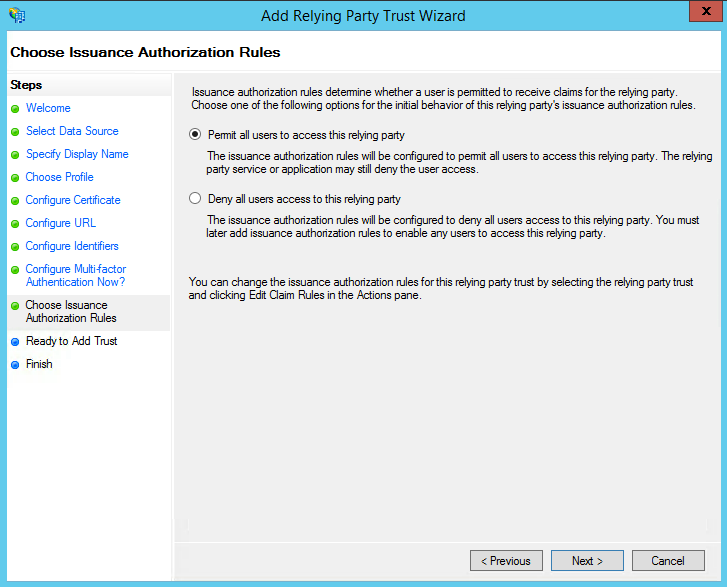
9. On the next screen, select: Permit all users to access this relying party.
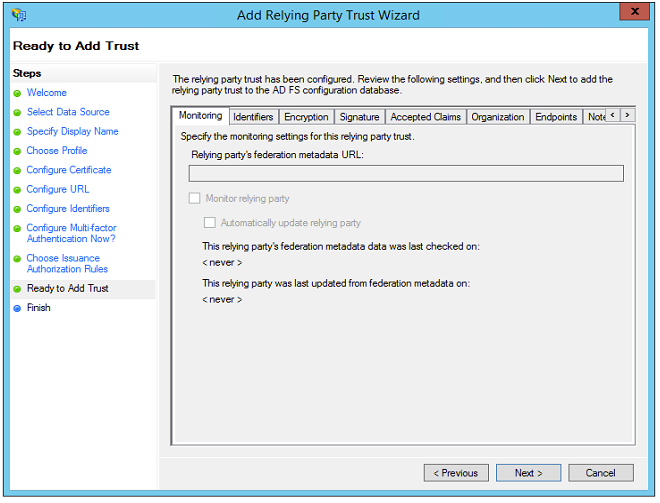
10. On the next screens, the wizard will display an overview of your settings.
Click: Next
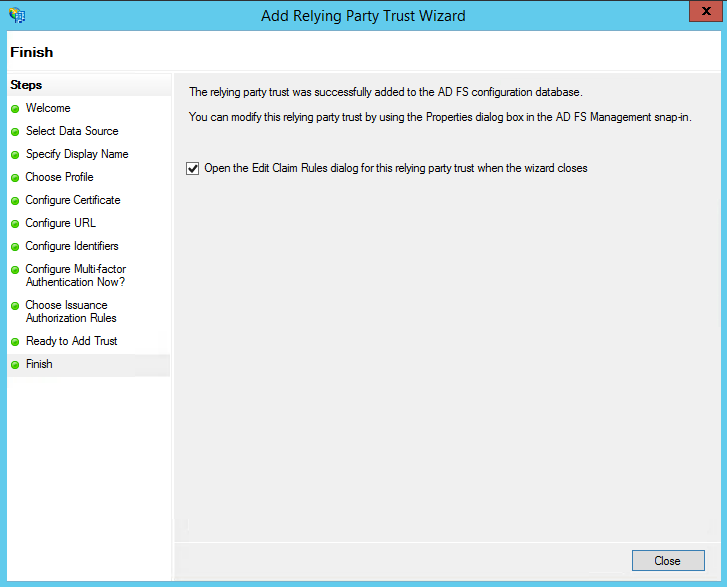
11. On the final screen use the “Close” button to exit and open the Claim Rules editor
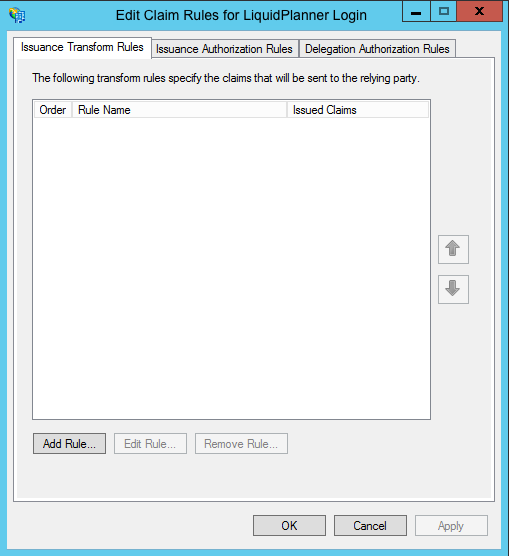
Step 2 – Creating Claim Rules
Once the “Relying party Trust” exists, you can create the claim rules and update the “Relying Party Trust” with minor changes that are not set by the wizard.
- By default the Claim Rules editor opens once you created the trust.
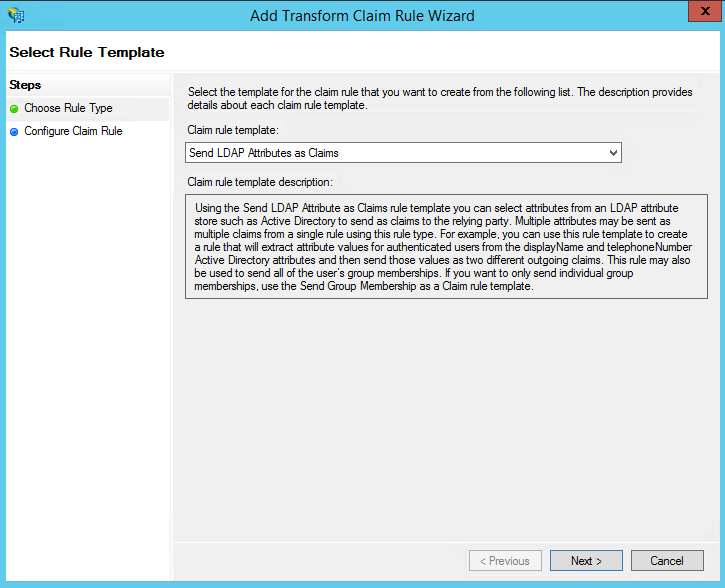
- To create a new rule, click on Add Rule
2. Select: Send LDAP Attributes as Claims rule.
3. On the next screen, using Active Directory as your attribute store, do the following:
- From the LDAP Attribute column, select E-Mail Addresses.
- From the Outgoing Claim Type, select E-Mail Address.
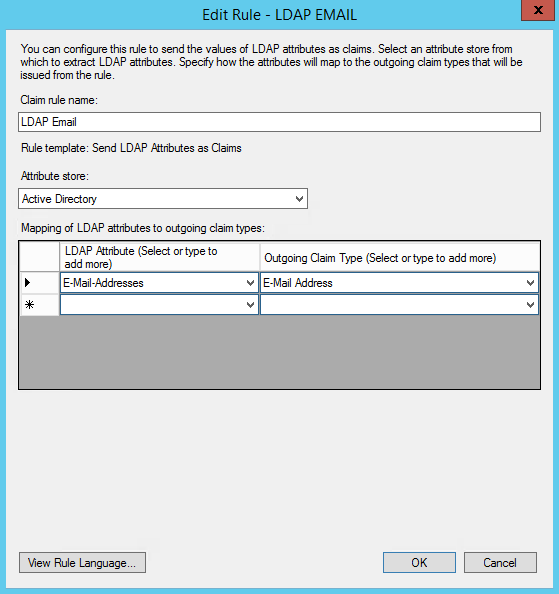
4.Click on Finish or OK to save the new rule.
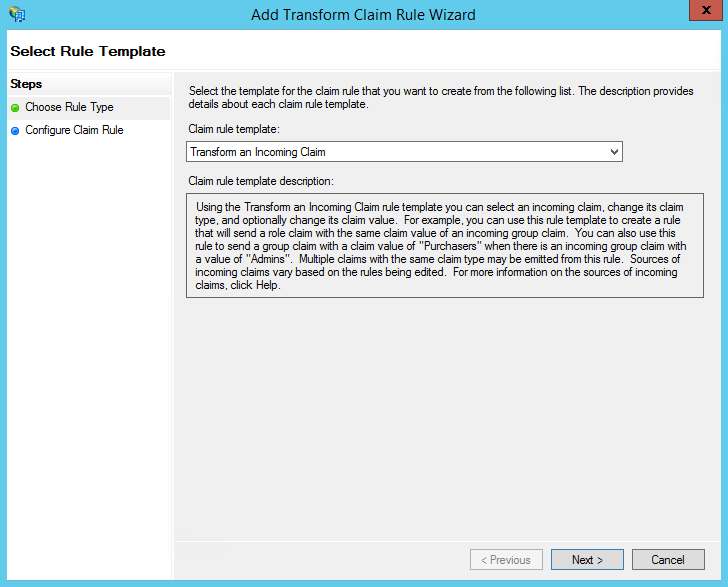
5. Create another new rule by clicking Add Rule.
- This time, select: Transform an Incoming Claim as the template.
6. On the next screen:
- Select E-mail Address as the Incoming Claim Type.
- For Outgoing Claim Type, select Name ID.
- For Outgoing Name ID Format, select unspecified.
- Leave the rule to the default of Pass through all claim values.

7. Finally, click OK to create the claim rule, and then OK again to finish creating rules.
Step 3 – Adjusting the Trust Settings
Some settings on your Relying Party Trust will need to be adjusted. To access these settings, select Properties from the Actions sidebar on the right while you have the Relying Party Trust selected.
- In the Advanced tab, ensure the selection is: SHA-1.
Note 1: Please find the SecurEnds Application sample metadata config file.
Note 2: We need Identity Provider Metadata URL and Identity postLogoutURL from BrightView.